In this blog we are going to demonstrate how Eclipse IDE can be installed on Ubuntu 20.04 Focal Fossa.
Eclipse is an open source Integrated Development Environment that packs various features and plugins and support various Programming languages. Due to its vast features and plugin libraries it is hugely popular and recommended in Developers community.
For further reading about Eclipse Product features please refer (https://www.eclipse.org/)
Prerequisite
- User with SUDO privileges
- Internet connection to download installation files
- As Eclipse is built on top of JAVA it needs Java runtime JRE to function.
Open version of Java Runtime can be installed using below commands.

Note: In most cases Open version of Java is sufficient to run Eclipse IDE but for specific developments Oracle’s JAVA is must.
Installation
Option1 – Install Eclipse from Snap
Eclipse IDE can be installed using available official snap package using Ubuntu software or via Terminal
If the installation is preferred using command just open terminal window and type following command. This will begin download and installation of Eclipse IDE.

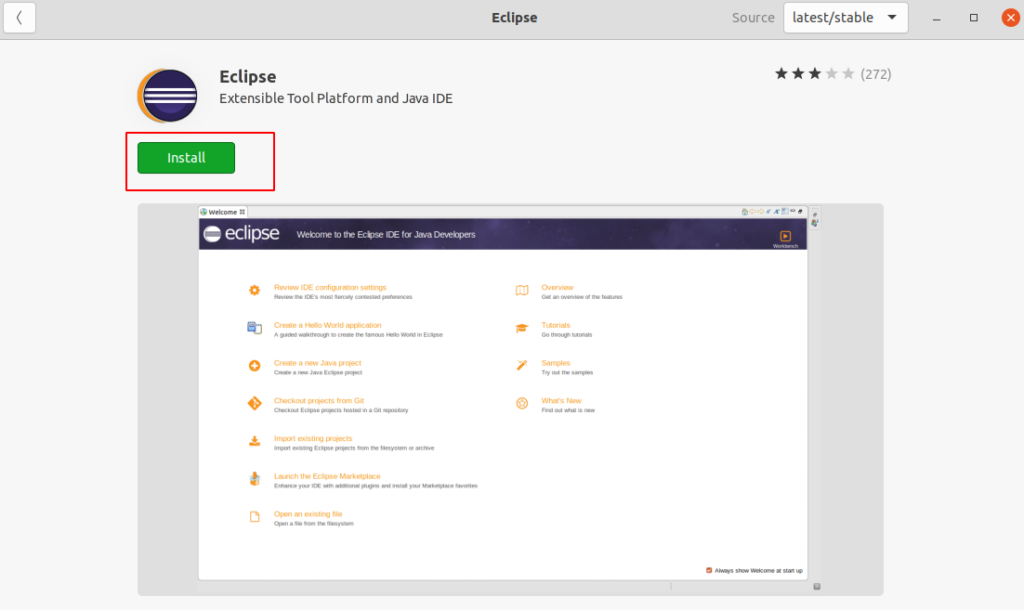
For installing Eclipse from Ubuntu Software available package simply open up Ubuntu Software and Search for Eclipse.

Select Eclipse and Click install this will start installing Eclipse
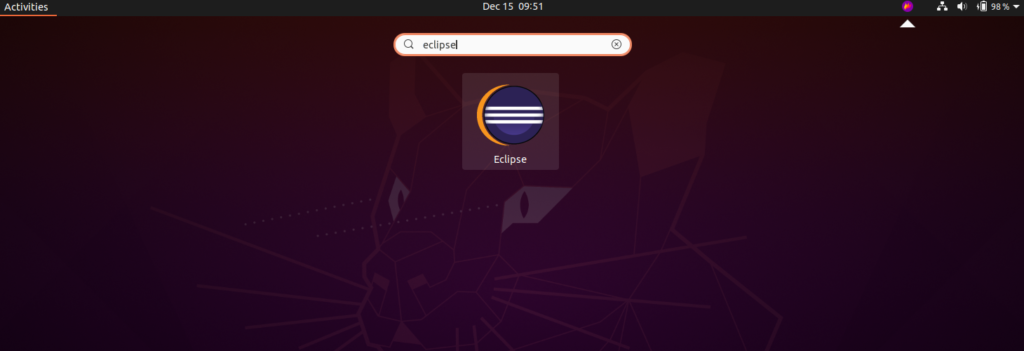
Once installation is complete open Activities Dashboard and search for Eclipse. From here you can run the application.
Option2 – Install Eclipse IDE manually using official Installer
In order to install Eclipse IDE using official installer first go to this address to download the installer
https://www.eclipse.org/downloads/
Note: Latest installer version at the time of writing this Blog is 2020-09
Select the installer to Download
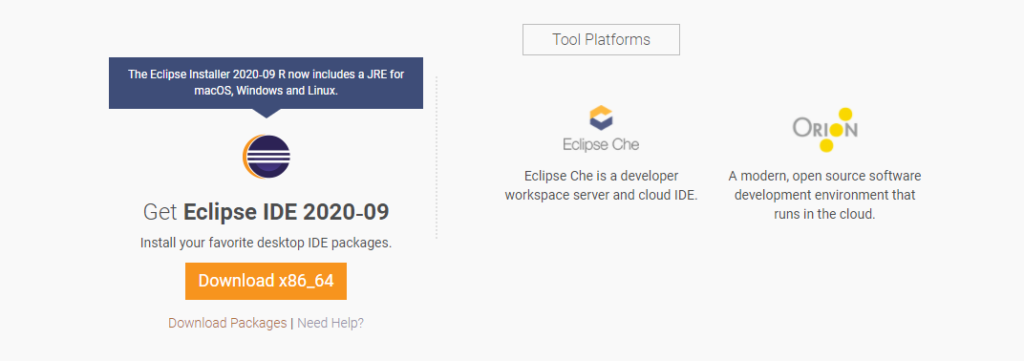
Once download is complete we need to extract the Installer files.
This can either be done manually by selecting Archive , Right Click and Open with Archive Manager , then select to Extract and provide a Destination directory.


Alternatively we can follow below command they will Extract the Archive and start the Installer

Note: This command assumes the installer is download to user Download folder. If it is downloaded to some other directory then above command need to be adjusted.
Once the installer is started Select appropriate Tools and Language from the options

Choose Installation directory and Java Version and continue Installation

Accept License terms and continue

After installation completes Eclipse IDE will be installed on Ubuntu.

Unlike Option1 , this method need an additional step to be performed and we would need to create an ICON to run Eclipse IDE
This can be easily done by following below steps
- Create a local file to contain Desktop entries
- Run below command to create one .desktop file

- Copy below content to above created file

Note: Replace {USER} with your system user
- SAVE and EXIT file
- Now, we need to make this as an executable file. Run below command to make it executable.

Running Eclipse Application
- Simply click on the Desktop icon created to launch Eclipse
- Choose development Workspace and Click Launch

- This will start Eclipse and open ups Welcome screen


Finally, we have successfully demonstrated how Eclipse could be installed on Ubuntu 20.04 Focal Fossa


