In this How-to we will look into how we can install VMware Workstation Player 16 on Ubuntu Linux.
VMware Workstation Player is a Virtualization applications that enables running different operating systems virtually. We can deploy various applications on these virtual machines and they can be distributed with pre-set environment.
Virtualization is a popular industry practice which empowers organizations to
- Reduce server cost there by less cost of ownership
- Faster deployment and Upgrades
- Quicker versioning and Sharing
Another popular Virtualization software in the market is Oracle’s VirtualBox, selection of one over another is totally at users discretion. More information about VirtualBox can be found here https://www.virtualbox.org/.
Note: VMware is not an Open Source product BUT it is free for Personal use.
Prerequisite
- User with SUDO privileges
- Internet connection to download installation files
Preparation:
Prepare system by installing essential libraries
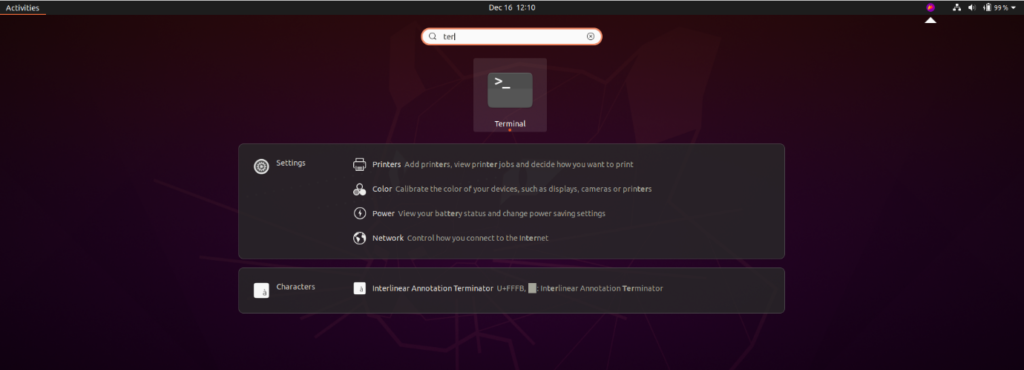
- Open Terminal window and run following command this will download and install essential libraries for Ubuntu to compile applications.

Download Installation Files
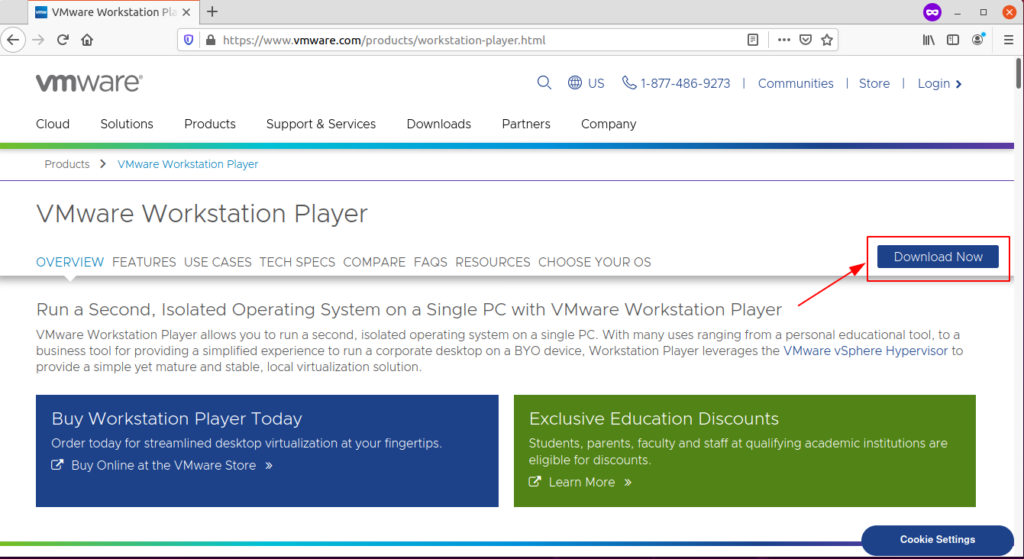
- In order to install VMware Workstation Player using official installer first go to this address to download the installer
https://www.vmware.com/products/workstation-player.html
- Click on Download Now
- On the Next screen Select product version and Click on GO TO DOWNLOADS
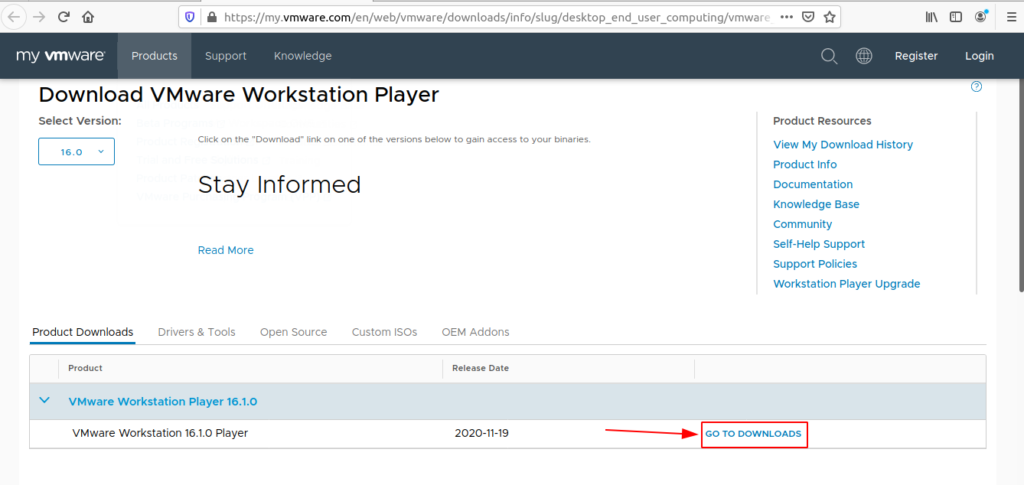
- As for this demonstration we are going to install VMware Workstation Player on Ubuntu, Select VMware Workstation for Linux 64-bit and Click on DOWNLOAD NOW

Note: At the time of writing this Blog version 16.1.0 was available as official download and same has been used for demonstration of installation steps.
Make installation file Executable
- Go to the directory where file is downloaded.
Note: In most cases file will be downloaded to users Downloads folder but in case you choose to download it to some other location please open that directory
- Select the file , In our case it is “VMware-Player-16.1.0-17198959.x86_64.bundle”, Right Click select Properties
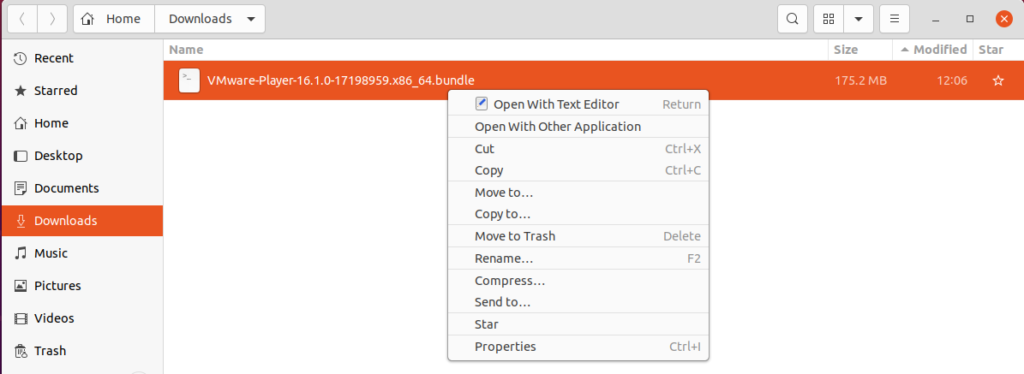
- Select Permissions tab, apply checkbox “Allow executing file as program”

Installing Application
- Open Terminal window (Ctrl+Alt+T) or search in Activities Window
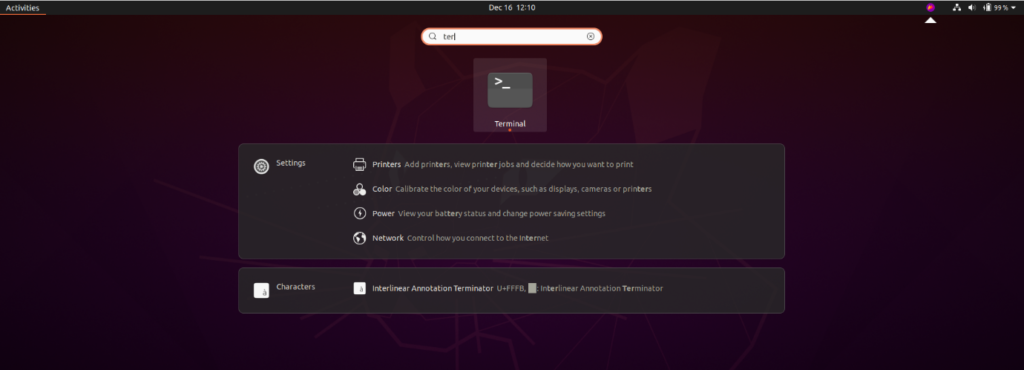
- Execute following command this with begin Extraction of installer and continue with Installation

- Once Installation is Complete , you will get message like this

Running VMware Workstation Player for the first time
- Go To Activities window and search for “VMware” and Select the Application
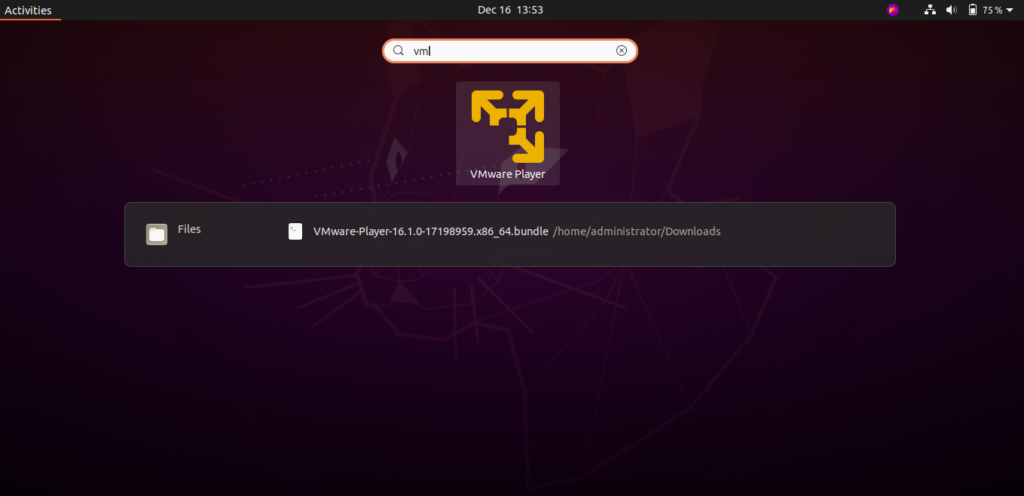
- This will start the application and Present with the License Agreement screen
Select “I accept the terms in the license agreement” and Click on “Next”

- On the following screen we will be presented with a question if we would like to check for product update on startup
Select “Yes” and Click on “Next”

Note: It is good practice to keep System and Applications up to date, as updates provides essential patches and bug fixes. We can also select “No” and the applications can be updated later manually
- On the next Screen we will be provided with another question if we would like to join “Customer Experience Improvement Program”
Select “Yes” and Click on “Next”

- VMware Workstation Player is free for Personal user, Simply select option “Use VMware Player 16 for free for non-commercial use” and Click on “Finish”

- Once these First-time configuration steps are complete we will be presneted with a Pop-up with a “Welcome message” and from here on we can start exploring VMware features such Create a New Virtual Machine or Open an already existing Virtual Machine

With this we have successfully demonstrated How VMware Workstation Player 16 could be installed on Ubuntu 20.04 Focal Fossa


